Build an AI-Powered Meditation App with Genkit, Flutter, and ElevenLabs Voice
Hello guys. Google has introduced a new framework called Genkit. It’s an open-source framework for building AI-powered apps. Today, I’m going to show you a walkthrough of building a meditation mobile app using Genkit and Flutter. Genkit makes it easy for us to build AI features into our app.
There are three languages we can use in Genkit: Node.js, Go, and Python. In this tutorial, I will use Node.js to build our Genkit backend, which will also be hosted on Vercel. This way, we can share our app with others and use it as well.
These will be our app’s features:
- The user will provide their current mood and meditation time.
- Using Gemini in Genkit, it will generate a meditation script for the user to listen to.
- Then, we’ll use a text-to-speech package to convert it into audio for the user.
To create text-to-speech in this project, I’ll use ElevenLabs Text to Speech API, which is really cool. And you can use any package, even from pub.dev.
First, let’s open a new terminal. I’ll initialize an empty project by running npm init. After pressing Enter for all options, I’ll open the project in VS Code. It will only have a package.json file at this point.
To use Genkit, we need to install a few packages from npm:
npm install genkit @genkit-ai/googleai
npm install @genkit-ai/express
npm install dotenv
Now, before we start coding, we need to get the API key from Google AI Studio: https://aistudio.google.com/app/apikey. You can easily get an API key with a free tier.
Create a .env file and paste your API key in it like this:
GEMINI_API_KEY=<your API key>Then, create a file called app.js. In this file, we’ll write our Genkit code. At the top of the file, let’s import the modules we installed:
import { googleAI } from '@genkit-ai/googleai';
import { genkit } from 'genkit';
Then we initialize Genkit using this:
const ai = genkit({
  plugins: [googleAI()],
  model: 'gemini-1.5-flash',
});
(Optional — You can switch between models by changing the model name.)
One thing to do here is to pass the API key to googleAI.
At the top, call:
import dotenv from 'dotenv';

dotenv.config();
And pass the API key like this:
plugins: [googleAI({
    apiKey: process.env.GEMINI_API_KEY ?? '',
})],
So far, our code looks like this:
import { genkit } from 'genkit';
import { googleAI } from '@genkit-ai/googleai';
import dotenv from 'dotenv';

dotenv.config();

const ai = genkit({
  plugins: [googleAI({
    apiKey: process.env.GEMINI_API_KEY ?? '',
  })],
  model: googleAI.model("gemini-2.0-flash")
});
To make use of this in our app, next we define a flow:
const quoteFlow = ai.defineFlow(
  {
    name: "quoteFlow",
  },
  async (input) => {
    const { response } = await ai.generate(`Make a quote about ${input}`);
    return {
      response,
    };
  }
);
What happened here is that I defined a flow called quoteFlow, and ai.generate will give me a response.
There’s one more step left — running the server. We can use either expressHandler or startFlowServer. For this project, I’ll use startFlowServer. Under the hood, it creates an Express server and automatically sets up endpoints.
startFlowServer({
  flows: [quoteFlow],
  port: 3000,
});
That’s it. It runs on port 3000 and gives us an endpoint at /quoteFlow. So, for now, our full code is this:
import { genkit } from 'genkit';
import { googleAI } from '@genkit-ai/googleai';
import dotenv from 'dotenv';

dotenv.config();

const ai = genkit({
    plugins: [googleAI({
        apiKey: process.env.GEMINI_API_KEY ?? '',
    })],
    model: 'gemini-2.0-flash',
});

const quoteFlow = ai.defineFlow(
    {
        name: "quoteFlow",
    },
    async (input) => {
        const { text} = await ai.generate(`Make a quote about ${input}`);
        return {
            text,
        };
    }
);

startFlowServer({
    flows: [quoteFlow],
    port: 3000,
});
Now, let’s run our code. In the terminal, run:
node app.jsIt will start our Express server with Genkit. Now, open Postman and send a POST request to http://localhost:3000/quoteFlow with a JSON body like this:
{
  "data": "Donald Trump"
}
It will return a response like this:
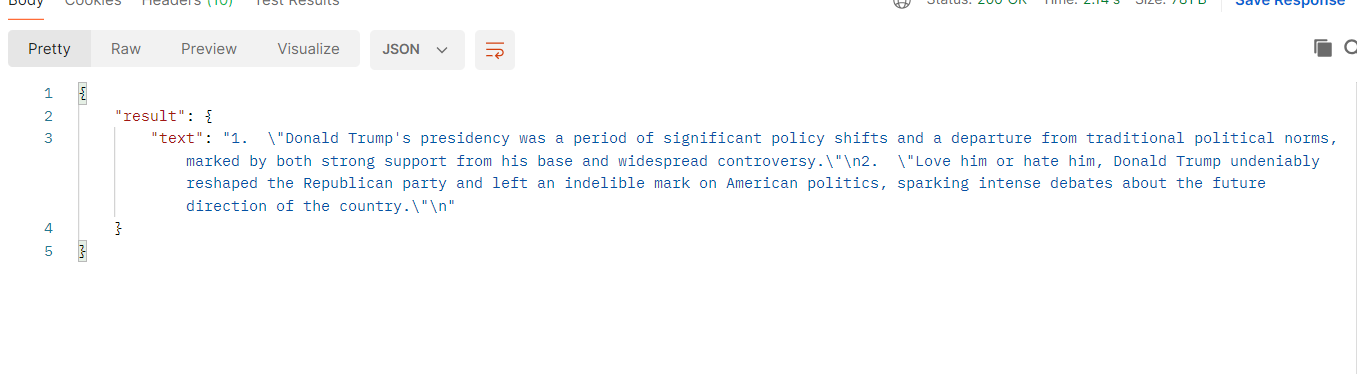
Cool! Now, we need our prompt for the AI in the meditation app. We will get the user’s mood and the duration they want to meditate as inputs.
My prompt is:
const prompt = `
You are a meditation coach. Create a calming, guided meditation script.

User’s current emotional state: ${input.mood_description}
Desired length: ${input.duration} minutes

The meditation should:
- Be friendly, gentle, and encouraging.
- Start with deep breathing and body relaxation.
- Include imagery or affirmations based on how the user feels.
- Fit within the given time duration.

Only output the meditation script itself. Do not include any explanations, titles, extra text, or the word "pause" or any instructions to pause.`;
And pass it to the ai.generate function like this:
const { text } = await ai.generate(prompt);Now the final code looks like this:
import { genkit } from 'genkit';
import { googleAI } from '@genkit-ai/googleai';
import { startFlowServer } from '@genkit-ai/express';
import dotenv from 'dotenv';
dotenv.config();
const ai = genkit({
plugins: [googleAI({
apiKey: process.env.GEMINI_API_KEY ?? '',
})],
model: googleAI.model("gemini-2.0-flash"),
});
const quoteFlow = ai.defineFlow(
{
name: "quoteFlow",
},
async (input) => {
const prompt = `
You are a meditation coach. Create a calming, guided meditation script.
User’s current emotional state: ${input.mood_description}
Desired length: ${input.duration} minutes
The meditation should:
- Be friendly, gentle, and encouraging.
- Start with deep breathing and body relaxation.
- Include imagery or affirmations based on how the user feels.
- Fit within the given time duration.
Only output the meditation script itself. Do not include any explanations, titles, extra text, or the word "pause" or any instructions to pause.
`;
const { text } = await ai.generate(prompt);
console.log("Generated Meditation Script:", text);
return {
text,
};
}
);
startFlowServer({
flows: [quoteFlow],
port: 3000,
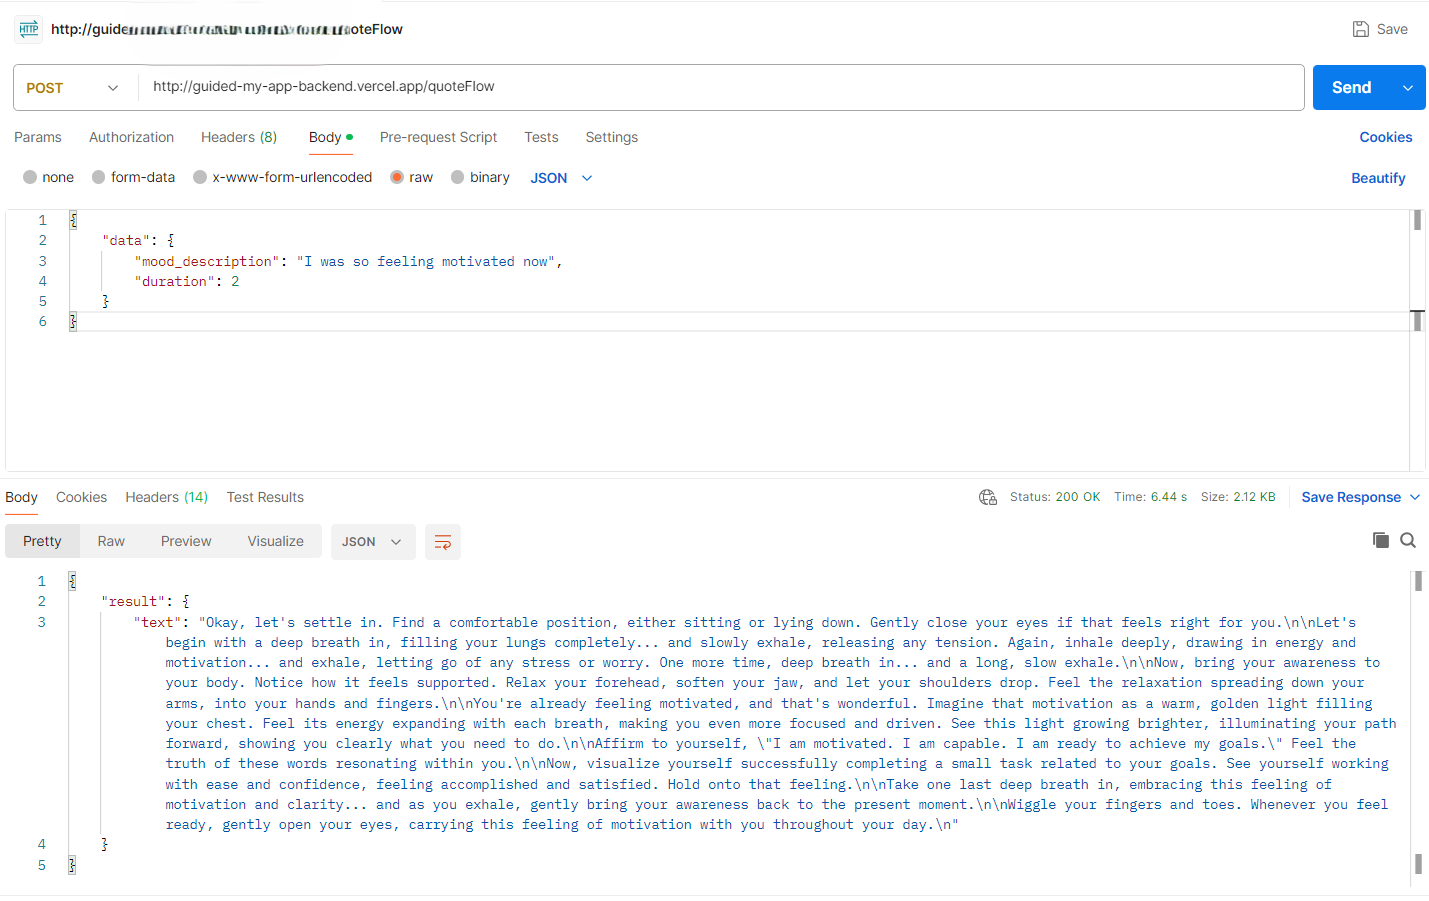
});Great! To test it, Re run the server and open Postman again. This time, pass mood type and duration in the body like this:
{
  "data": {
    "mood_description": "I was so busy today with office work",
    "duration": 5
  }
}
Now send it, and I got a meditation response:
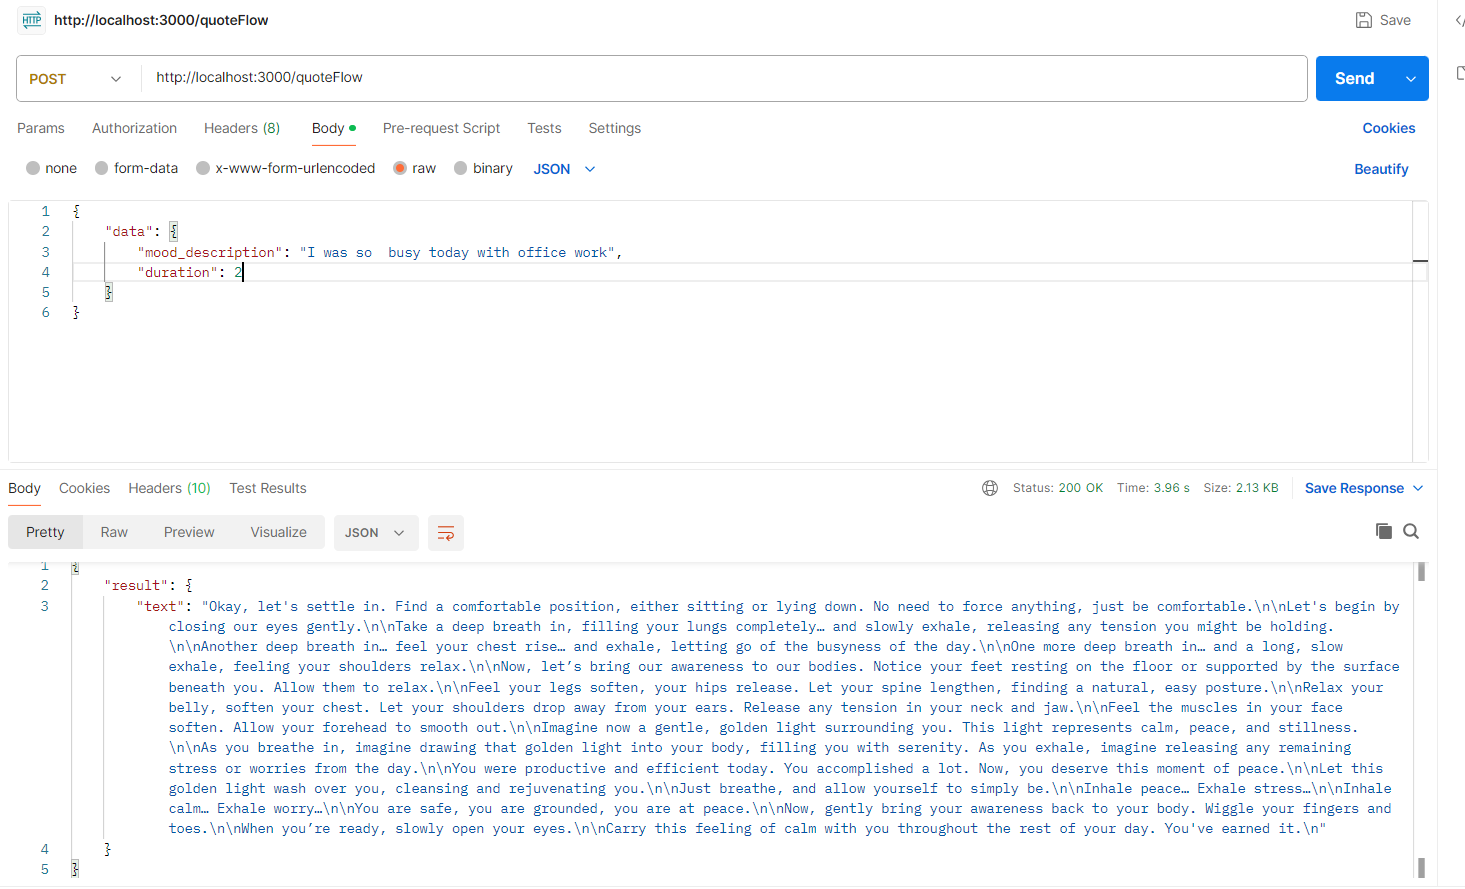
Cool! Everything works.
Now, create a vercel.json file:
{
"version": 2,
"builds": [
{
"src": "app.js",
"use": "@vercel/node"
}
],
"routes": [
{
"src": "/(.*)",
"dest": "app.js"
}
]
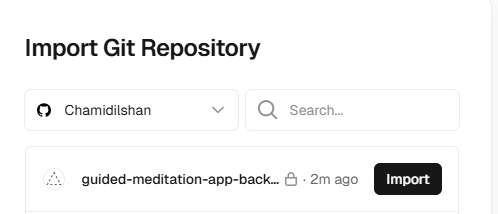
}Before going to the Flutter code, publish this code to GitHub. Then open vercel.com, connect your repository, and deploy it.

Add your Gemini key in the environment variables section.
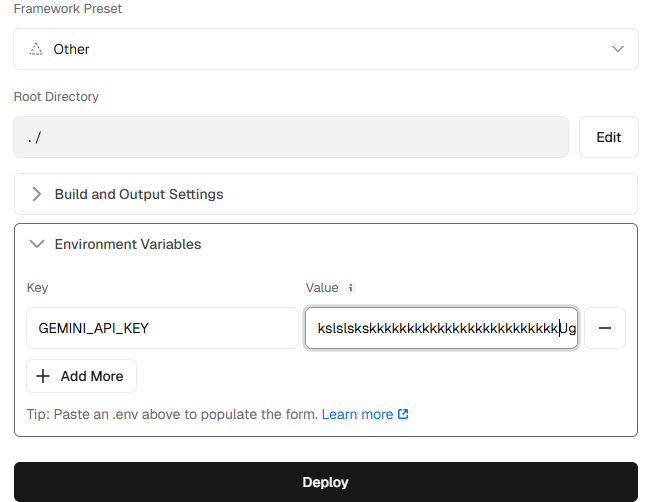
After a successful deployment, go to the project dashboard and you’ll see a deployed domain.
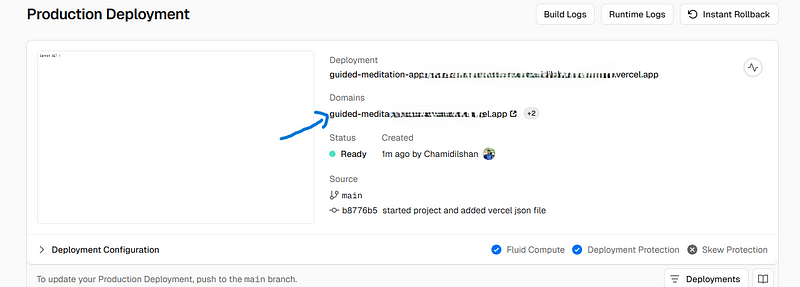
Copy it, open Postman again, and replace the localhost URL with this new domain and send the request. It should work!
Next part is the Flutter part. Open a new Flutter project.
Then, in the Flutter project terminal, run:
flutter pub add path_provider just_audio httpto add the required plugins.
First, create a file called meditation_response.dart. It will contain the response model for our Genkit:
class MeditationResponse {
  final String text;

  MeditationResponse({required this.text});

  factory MeditationResponse.fromJson(Map<String, dynamic> json) {
    return MeditationResponse(text: json['result']['text']);
  }
}
Next, create a file called meditation_service.dart for our Genkit API logic: Also replace the url below with your actual deployed Vercel URL.
import 'dart:convert';
import 'package:http/http.dart' as http;
import '/meditation_response.dart';

class MeditationService {
  Future<MeditationResponse> generateMeditation(String mood, int minutes) async {
    final url = Uri.parse('http://VERCEL-DEPLOYED-APP-URL/quoteFlow');
//// Replace the url with your actual deployed Vercel URL

    final response = await http.post(
      url,
      headers: {'Content-Type': 'application/json'},
      body: jsonEncode({
        'data': {
          'mood_description': mood,
          'duration': minutes,
        }
      }),
    );

    if (response.statusCode == 200) {
      return MeditationResponse.fromJson(jsonDecode(response.body));
    } else {
      throw Exception('Failed to generate meditation');
    }
  }
}
Also, create elevenlabs_service.dart to generate audio:
Go to ElevenLabs and create a free account to get your API key: https://elevenlabs.io/app/settings/api-keys. Add it to _apiKey
import 'dart:io';
import 'dart:convert';
import 'dart:typed_data';
import 'package:http/http.dart' as http;
import 'package:path_provider/path_provider.dart';

class ElevenLabsService {
  final String _apiKey = 'PASTE-YOUR-ELEVENLAPS-API-KEY';
  final String _voiceId = 'JBFqnCBsd6RMkjVDRZzb'; // We can change voices by changing voice id.

  Future<String> generateSpeech(String text) async {
    final url = Uri.parse('https://api.elevenlabs.io/v1/text-to-speech/$_voiceId');

    final response = await http.post(
      url,
      headers: {
        'Content-Type': 'application/json',
        'xi-api-key': _apiKey,
        'Accept': 'audio/mpeg'
      },
      body: jsonEncode({
        'text': text,
        'model_id': 'eleven_monolingual_v1',
        'voice_settings': {
          'stability': 0.4,
          'similarity_boost': 0.5
        }
      }),
    );

    if (response.statusCode == 200) {
      Uint8List bytes = response.bodyBytes;

      final dir = await getTemporaryDirectory();
      final file = File('${dir.path}/meditation.mp3');
      await file.writeAsBytes(bytes);
      return file.path;
    } else {
      throw Exception('Failed to generate speech from ElevenLabs');
    }
  }
}
Finally, our UI screen is meditation_screen.dart. Here’s the UI:
import 'package:flutter/material.dart';
import '/meditation_service.dart';
import '/elevenlabs_service.dart';
import 'package:just_audio/just_audio.dart';

class MeditationScreen extends StatefulWidget {
  @override
  State<MeditationScreen> createState() => _MeditationScreenState();
}

class _MeditationScreenState extends State<MeditationScreen> {
  final _moodController = TextEditingController();
  int _selectedMinutes = 5;
  String? _result;
  bool _loading = false;
  bool _isPlaying = false;

  final MeditationService _service = MeditationService();
  final ElevenLabsService _ttsService = ElevenLabsService();
  final AudioPlayer _audioPlayer = AudioPlayer();

  void _generateMeditation() async {
    setState(() {
      _loading = true;
      _result = null;
    });
    try {
      final response = await _service.generateMeditation(_moodController.text, _selectedMinutes);
      print('response is ${response}');
      setState(() => _result = response.text);

      final audioPath = await _ttsService.generateSpeech(response.text);
      await _audioPlayer.setFilePath(audioPath);
      await _audioPlayer.play();
      setState(() => _isPlaying = true);

      _audioPlayer.playerStateStream.listen((state) {
        setState(() => _isPlaying = state.playing);
      });
    } catch (e) {
      setState(() => _result = 'Something went wrong.');
    }
    setState(() => _loading = false);
  }

  void _toggleAudio() async {
    if (_isPlaying) {
      await _audioPlayer.pause();
    } else {
      await _audioPlayer.play();
    }
    setState(() => _isPlaying = !_isPlaying);
  }

  @override
  void dispose() {
    _audioPlayer.dispose();
    _moodController.dispose();
    super.dispose();
  }

  @override
  Widget build(BuildContext context) {
    return Scaffold(
      appBar: AppBar(title: Text("Meditation Generator")),
      body: Padding(
        padding: EdgeInsets.all(16),
        child: Column(
          children: [
            TextField(
              controller: _moodController,
              decoration: InputDecoration(labelText: 'How are you feeling?', border: OutlineInputBorder()),
            ),
            SizedBox(height: 12),
            DropdownButtonFormField<int>(
              value: _selectedMinutes,
              items: [1, 5, 10, 15]
                  .map((m) => DropdownMenuItem(value: m, child: Text('$m minutes')))
                  .toList(),
              onChanged: (val) => setState(() => _selectedMinutes = val!),
              decoration: InputDecoration(border: OutlineInputBorder()),
            ),
            SizedBox(height: 12),
            ElevatedButton(
              onPressed: _loading ? null : _generateMeditation,
              child: _loading ? CircularProgressIndicator() : Text('Generate'),
            ),
            if (_result != null) ...[
              SizedBox(height: 20),
              Expanded(child: SingleChildScrollView(child: Text(_result!))),
              SizedBox(height: 20),
              IconButton(
                icon: Icon(_isPlaying ? Icons.pause_circle_filled : Icons.play_circle_fill, size: 40),
                onPressed: _toggleAudio,
              )
            ],
          ],
        ),
      ),
    );
  }
}
That’s it. Now, in main.dart, call MeditationScreen() in the home property:
home: MeditationScreen(),Run it and give it a try. Hope you enjoy it! All source code is available on my GitHub:
- Genkit Backend: https://github.com/Chamidilshan/guided-meditation-app-backend
- Flutter Frontend: https://github.com/Chamidilshan/guided_meditation_app